The Storage Edit
A step-by-step process for organising one cupboard, drawer or storage area without creating a larger mess elsewhere.
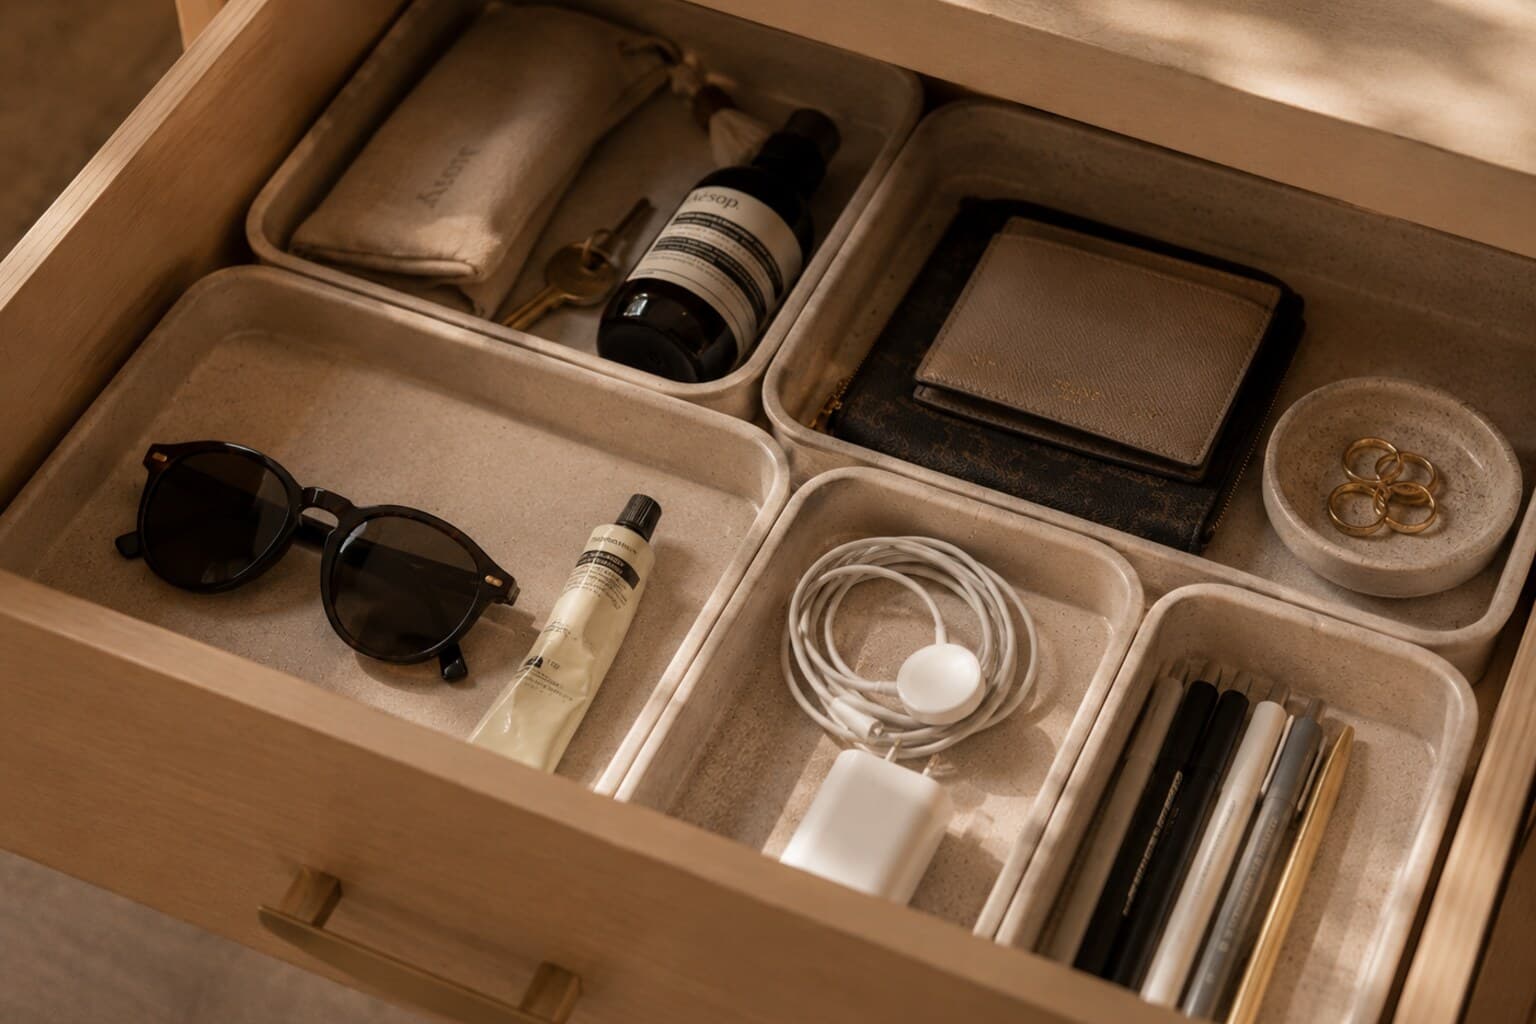
At a Glance
- Photograph the area
- Remove only the contents of that area
- Clean the empty space
- Group by use
- Review duplicates
- Define the purpose of the space
- Place the most-used items first
- Add organisers only when needed
- Create a limit
- Complete the project
Storage projects often begin with energy and end with several piles spread across the room. The entire cupboard is emptied. Every object requires a decision. New organisers are considered. Time runs out before the system is complete.
The Storage Edit limits the project to one clearly defined area. It is designed to produce one finished result rather than several unfinished categories.
Before You Begin
- Select one area - one drawer, one shelf, one cupboard, one basket, one wardrobe section, one bathroom cabinet.
- Do not choose an entire room unless there is enough time and energy to complete it. Define the physical boundary before beginning.
Step 1: Photograph the Area
Take a quick photograph. This helps identify what is difficult to reach, where items are stacking, which categories are mixed, whether the space is overfilled and what is rarely used. The photograph also provides a clear before-and-after reference.
Step 2: Remove Only the Contents of That Area
Place the contents on one nearby surface. Do not empty adjacent cupboards - keep the project contained. If the area is large, work shelf by shelf.
Step 3: Clean the Empty Space
Wipe or vacuum the area according to the material. Check for damage, moisture, loose hardware, expired spills and shelf-liner issues.
Repairs should be noted separately rather than becoming a new project during the edit.
Step 4: Group by Use
Create simple groups - keep here, belongs elsewhere, use soon, repair, donate or pass on, recycle or dispose of appropriately, uncertain.
Keep the uncertain group small. Do not create detailed subcategories before deciding what should remain.
Step 5: Review Duplicates
Look for repeated tools, several open products, multiple partially used supplies, and items kept because another could not be found.
Choose the best or most useful version. Combine compatible products only where safe and appropriate - never mix cleaning products or decant substances without clear labelling and safety knowledge.
Step 6: Define the Purpose of the Space
Complete the sentence: this area is for - everyday breakfast items, bathroom essentials, current paperwork, baking supplies, cleaning cloths, seasonal accessories.
If an item does not support the purpose, consider moving it elsewhere.
Step 7: Place the Most-Used Items First
Return daily items at the front or easiest height, weekly items beside or behind them, and occasional items higher or lower.
Leave space around the categories where possible. Storage should not require perfect stacking to close.
Step 8: Add Organisers Only When Needed
Use existing trays, boxes, jars, dividers, baskets and containers. Before buying anything, measure width, depth, height, door clearance and shelf thickness where relevant.
An organiser is useful only when it improves access or prevents categories from mixing.
Step 9: Create a Limit
The available space becomes the limit for the category - one basket for scarves, one shelf for mugs, one container for batteries, one drawer for gift wrapping.
When the boundary is full, review the contents before expanding the storage.
Step 10: Complete the Project
Remove donation and disposal items immediately where possible. Return relocated objects to their actual homes. Take a final photograph.
Do not leave bags or boxes waiting indefinitely beside the newly organised area.
The Checklist
- One area selected
- Before photograph taken
- Area emptied in a controlled way
- Interior cleaned
- Items grouped
- Duplicates reviewed
- Purpose defined
- Most-used items returned first
- Organisers added only where useful
- Donation and relocation items removed
- Final photograph taken
Pair It With
A successful storage edit ends with one area that works better.
It does not need to transform the entire home in one session.
Enjoyed this?
The Seasonal Letter brings more stories, recipes and rituals like this one - a few times a season, never more.

Written by Esther
Esther is a photographer and storyteller, and the founder of Essy's Essentials - a seasonal home for stories, rituals, recipes and everyday luxuries.
More about Esther →