Home Styling
The One-Room Styling Reset
A step-by-step method for refreshing a room using mostly what you already own.
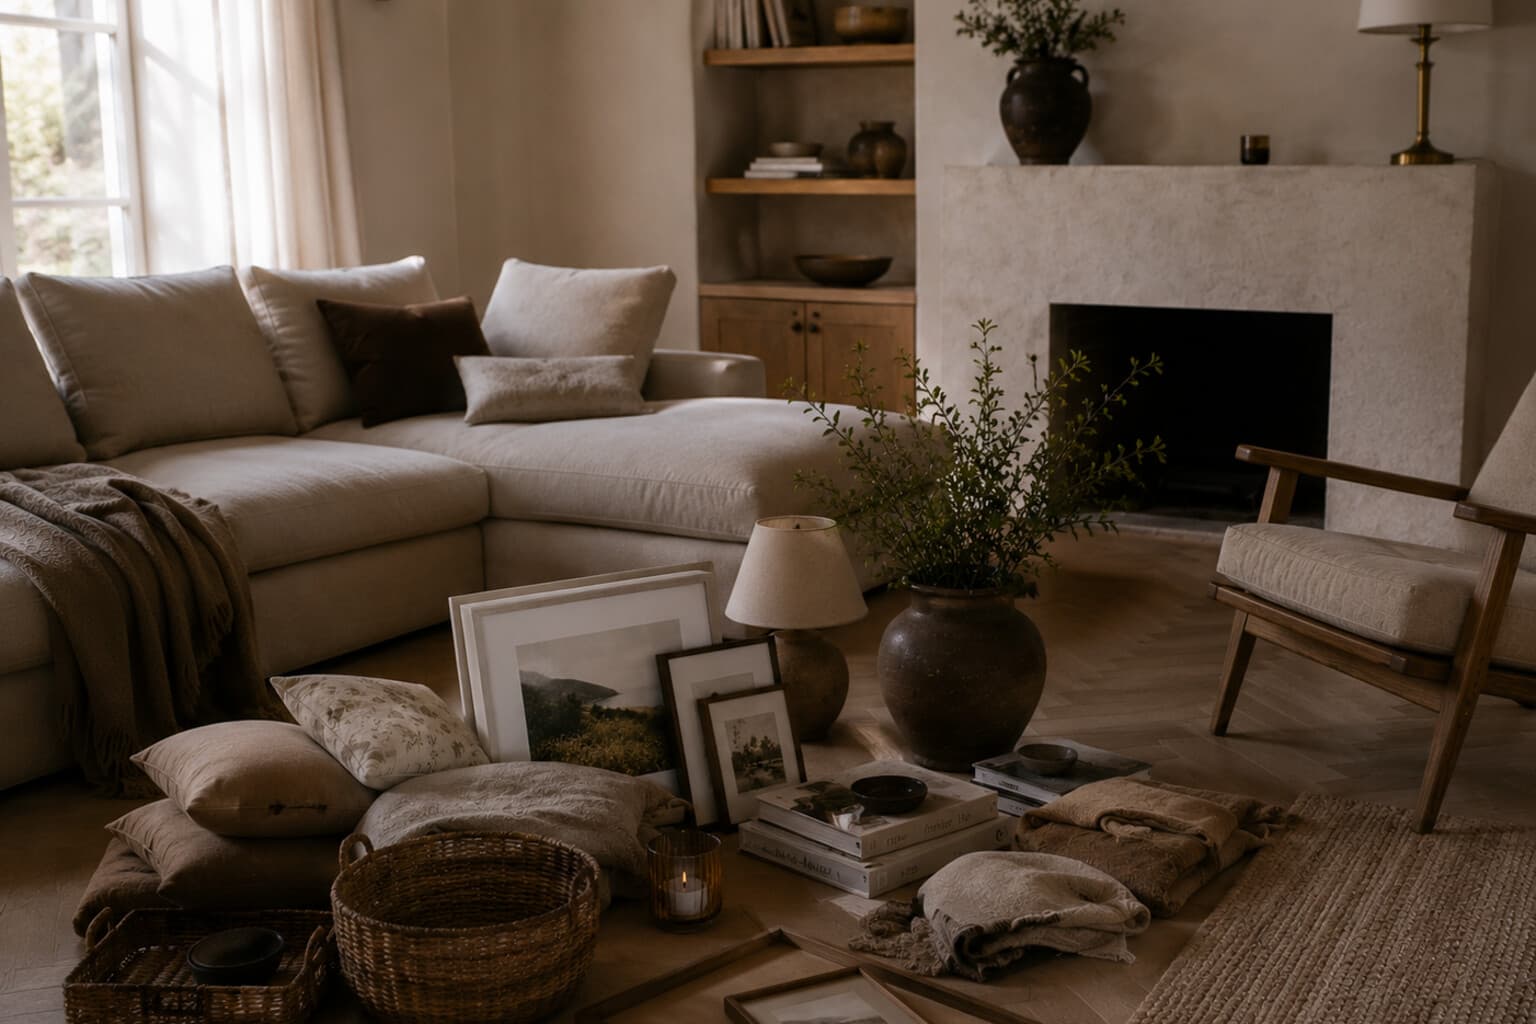
When a room no longer feels right, the instinct may be to shop for something new.
But the problem is often not a missing object. It may be too much furniture, poor lighting, an unclear layout, objects without a relationship, an unbalanced colour palette, clutter on visible surfaces, or a practical problem that styling has not solved.
The One-Room Styling Reset helps identify the real issue before anything new is purchased.
Step 1: Photograph the Room
Take photographs from the doorway, each corner, seated eye level, and the main approach into the room. Photographs make proportions, clutter and empty areas easier to notice.
Ask: what is the first thing I see? Where does the room feel heavy? Where does it feel unfinished? What interrupts movement? What appears smaller or larger than expected?
Step 2: Define the Purpose
Write down the room’s actual functions. For example, a living room may need to support conversation, watching television, reading, coffee, guests, storage and occasional working.
A room becomes difficult to style when the practical functions have not been prioritised.
Step 3: Remove Visible Clutter
Clear temporary items, unrelated objects, excess cushions, paperwork, unused technology, and decorative items that no longer suit the room.
Do not reorganise every cupboard yet. Begin with what is visible.
Step 4: Review the Furniture Layout
Consider movement through the room, conversation distance, access to windows and doors, relationship with the main focal point, whether furniture is pushed against walls unnecessarily, and whether the scale of each piece suits the room.
Try moving furniture before buying anything. A small adjustment in angle or distance may change the entire space.
Step 5: Check the Lighting
Turn off the main ceiling light. Notice where additional light is needed - reading positions, dark corners, console surfaces, dining areas, artwork and evening use.
Add or relocate lamps already owned.
Step 6: Establish the Palette
Identify the colours already present in walls, flooring, large furniture, curtains and rugs. Choose one main neutral, one supporting neutral, one darker grounding tone, and one restrained accent.
Remove or relocate items that create unrelated colour noise.
Step 7: Gather Accessories From the Home
Collect possible styling pieces in one place - books, vases, trays, bowls, candles, frames, textiles, lamps, branches, artwork.
Shop your own home before shopping outside it. Objects may work better in a different room or grouping.
Step 8: Style the Largest Surfaces
Work in this order: walls, windows, floor, largest furniture, lighting, console or sideboard, coffee table, smaller details.
Do not begin with tiny accessories. The large visual decisions determine whether the room feels balanced.
Step 9: Add Softness
Review curtains, rug, cushions, blankets and upholstery. Soft materials improve comfort and acoustics.
Use enough variation in texture to prevent a neutral room from feeling flat.
Step 10: Add One Natural Element
Use flowers, branches, a plant, a bowl of seasonal fruit, wood, stone or natural fibre.
One natural element can make a room feel more alive without adding unnecessary decoration.
Step 11: Remove Again
After styling, remove at least one item from each busy surface. Step back and photograph the room again.
Check: is movement clear? Are practical items accessible? Does the room feel balanced from the doorway? Is there enough empty space? Does any object demand attention without deserving it?
Step 12: Create a Considered Shopping List
Only after completing the reset, note genuine gaps. Divide them into needed for function, needed for comfort, would improve the room, and optional decorative idea.
Wait before purchasing optional items. A room often feels complete after living with the revised arrangement for a few days.
One-Room Styling Reset Checklist
- Room photographed.
- Purpose defined.
- Visible clutter removed.
- Furniture layout reviewed.
- Lighting adjusted.
- Palette clarified.
- Existing accessories gathered.
- Large surfaces styled first.
- Softness added.
- Natural element included.
- Excess removed.
- Shopping list limited to genuine gaps.
Pair It With
- A Home That Feels Considered
- The Layered Lighting Guide
- The Essy’s Essentials Home Palette
- The Five-Minute Room Reset
A room does not always need more.
It may need better placement, stronger editing and a clearer understanding of what it is meant to support. The most satisfying refresh is often the one that reveals the home already present.

Written by Esther
Esther is a photographer and storyteller, and the founder of Essy's Essentials - a seasonal home for stories, rituals, recipes and everyday luxuries.
More about Esther →